
There are several types of weld inspection and many characteristics of a weld that can be evaluated during a weld inspection, some related to the size of the weld and others pertaining to the discontinuities in the weld.
The five most common methods of inspecting welds are visual inspection, radiographic inspection, ultrasonic inspection, magnetic particle inspection, and liquid penetrant inspection. Each of these methods has its advantages and disadvantages, so choosing the correct method for each application is essential.
Welding is an essential process in many industries, and it’s crucial that the welds are inspected to ensure they’re strong and effective. There are several ways that inspectors can examine welds, and each has its advantages and disadvantages. In this blog post, we’ll take a look at five common methods of weld inspection.
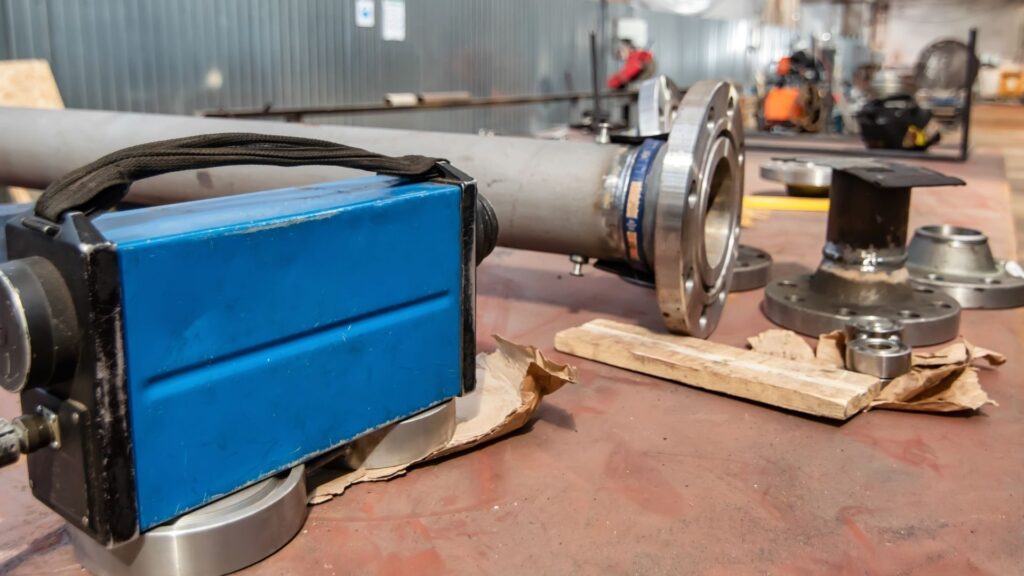

Common ways to inspect welds
The welds’ size is significant in many instances, as it can often directly relate to the strength of the weld and associated performance; undersized welds will not withstand the pressure applied during operation. Weld quality is also essential.
These are imperfections within or adjacent to the weld, which may or may not, depending on their size and location, prevent the weld from achieving its intended performance.
Typically, these discontinuities, when of unacceptable size or location, are called weld defects and can sometimes cause premature weld failure by reducing weld strength or producing stress concentrations in the welded component.
Welds are critical parts of any equipment or structure. To ensure the integrity of the welds, they must be inspected thoroughly. This is because some welds fail when placed under load. And to avoid this, there are several techniques for testing welds, widely called non-destructive testing (NDT).
VISUAL INSPECTION TEST
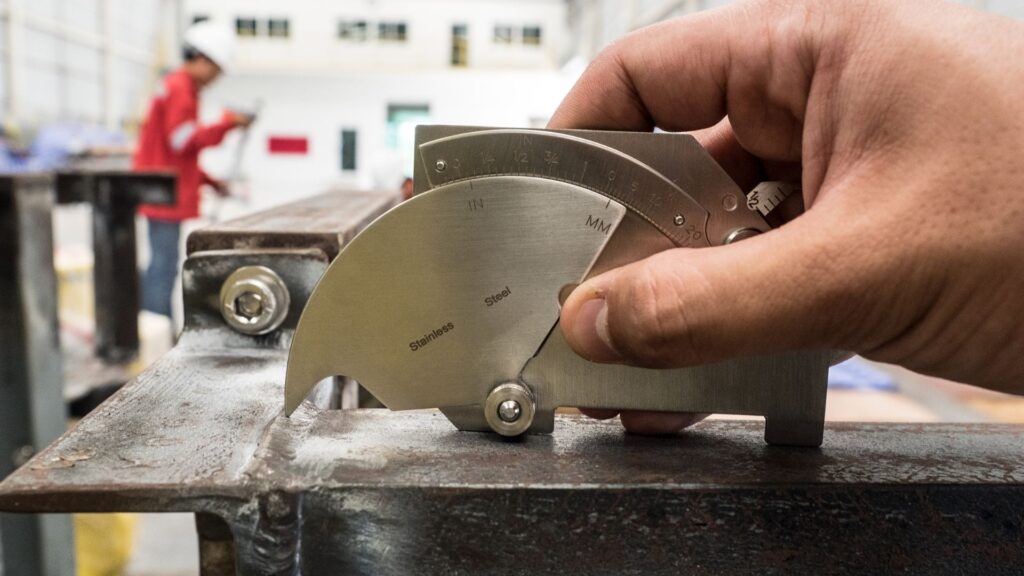
Visual inspection is one of the most cost-effective and basic non-destructive welding inspection types. All other NDTs must be performed after a rigorous Visual Inspection, which can be done on-site, with the aid of a magnifying glass, or with devices and instruments for remote inspection.
It is a method to determine the acceptability of components manufactured by machining, welding, or any other production process. However, the work depends almost only on the individual assessment of each inspector.
PENETRATING LIQUID TEST
As the name implies, this test operates on a principle of action whereby fluid as a fluorescent or non-fluorescent dye is applied to a solder surface. The liquid is attracted to defective areas on the surface of the material (between 15 and 30 minutes) through capillary action and then withdrawn to reveal itself for detection using UV lights or other methods, depending on the type of penetrant dye used.
MAGNETIC PARTICLES INSPECTION (MPI)
This is a very cheap and quick weld inspection method; however, it is only used to check for surface imperfections on row welds, and it can only be used on ferrous metals.
Defect-free ferromagnetic material (typically iron or steel) transfers magnetic flux through the material without interruption. However, when a crack or other discontinuity is present, magnetic flux leaks out of the material.
As it leaks, the magnetic flux (magnetic field) will collect ferromagnetic particles (iron dust), which makes the size and shape of the flaw easily visible.
RADIOGRAPHIC INSPECTION (Graphics)
Radiographic inspections are used when welded components require a very critical inspection technique due to their application. The basic principle of radiographic welding inspection is the same as medical radiography.
When a radiographic inspection is performed penetrating radiation is passed through a solid object from which a radiograph is produced. This will show irregularities in the weld when verified by an experienced radiographer interpreter.
ULTRASOUND INSPECTION
This method can detect surface and internal irregularities in the welding of ferrous and non-ferrous metals. It works by transmitting high-frequency pulsating sound waves through the solder and sending the results to a monitor.
If the pulse comes into contact with an irregularity in the weld, the waves are sent back to the transmitter and appear on the monitor screen. The defect can be observed accurately but requires an experienced operator to interpret traces on the monitor.
What is the most common method of inspecting welds?
Visual inspection is the most common method of weld inspection and can be used to identify cracks, incomplete fusion, and other defects. X-ray weld inspection is another common method that you can use to detect internal weld defects that are not visible to the naked eye.
The visual testing method can be performed by direct line-of-sight, or you can use mirrors, borescopes, or remote devices. Visual inspections are simple and less technologically advanced compared to other methods.

What is the purpose of welding inspections?
Weld inspection aims to ensure the weld meets all the required specifications. This includes verifying the weld size, shape, and location. Inspectors also check for defects that could affect the strength or function of the weld.
For example, welds may be rejected if they are too shallow or if they have incomplete fusion. In addition to weld inspections, inspectors also often perform nondestructive testing (NDT) on welds. NDT can be used to identify potential weaknesses in a weld before it fails. As a result, welding inspection is essential for ensuring the safety and quality of welds.
Perhaps the most fundamental reason is to determine if the weld is of adequate quality for the intended application. Many errors and production failures are due to poorly executed welding and catching the problem before an accident occurs is only possible by a thorough weld inspection.
Another common reason to inspect welds is to evaluate the capabilities of the welders on your team. You can evaluate their performance working with various materials and techniques.
What are the Benefits of Welding Inspection?
Weld inspections are a critical part of the welding process, providing a valuable check on the quality of welds. By carefully inspecting welds, welders can ensure that they meet all the required specifications.
This, in turn, helps to ensure the safety and integrity of the final product. Weld inspection can also help identify potential problems early on before they cause any damage.
Another great advantage of welding inspection is the guarantee of compliance with technical manufacturing standards, such as ASME and AWS.
These standards are in place to prevent troubles created by poor welds. As a result, weld inspection is an essential part of the welding process and should not be overlooked.
What is done during a welding inspection?
A weld inspection is a critical part of the welding process. It is conducted to ensure that the weld is of the highest quality and meets all required specifications. The inspection includes checking the weld for defects, such as cracks, voids, or porosity.
The welders must also inspect the weld joint for alignment and proper fit-up. In addition, the welders will check for any signs of slag or metal spatter. Once the weld inspection is complete, the welders can then move on to the next step in the welding process.
The most common problems encountered involve slag inclusion, porosity, cracks, misalignments, undercuts and lack of fusion, and lack of penetration. It is best to have qualified professionals such as welding inspectors perform the inspection to ensure the weld quality.
What is the most effective way to inspect a weld?
There are various ways to inspect a weld, but some methods are more effective than others. One common practice is to use a visual inspection, which you can do with the naked eye or with the aid of a magnifying glass.
This method can help identify surface defects, but it is often insufficient to identify deeper flaws. Another option is to use X-rays to inspect the weld. This method is much more effective at identifying hidden defects, but it is also more expensive and time-consuming.
In general radiographic weld inspection is the most effective way to inspect a weld. Although this is a slow and expensive NDT (non-destructive testing)method, it is reliable to detect porosity, inclusions, cracks, and voids within the weld.
As a result, many welders rely on random inspections to ensure that their welds are up to code. While this method is not perfect, it is often the only practical option. By randomly selecting welds for inspection, welders can ensure that all of their welds are inspected regularly and that any potential problems are caught early.
Radiographic weld inspection uses X-rays or gamma rays to detect all discontinuities by visualizing the weld shape and variations in the density of the processed film. The basic principle of radiographic weld inspection is the same as medical radiography.
It applies to various branches of industry, such as oil and gas pipelines, petrochemical industry, aeronautical industry, etc. Ultimately, the best way to inspect a weld depends on the circumstances and the level of quality control desired.
How Do You Examine Welds?
Welding is a complex process that requires specific equipment and expertise. The welds have to be of high quality, so these procedures need to be conducted carefully in order not only to produce good work but also to avoid any problems during production.
The entire welding system entails many steps. Each one plays an integral role in achieving this goal – from prepping materials until final assembly on-site at your customer’s location.
When welding is finished, a complete visual inspection of welds according to the codes and standards is performed to detect possible “discontinuities,” such as cracks, porosities, lack of deposition, shrinkage, spatter, and other problems.
Welding is a critical process in the construction of pipelines and other structures. In order to ensure the quality of the weld, inspections must be performed regularly. However, welders often work in difficult or dangerous environments, which can make it difficult to inspect all welds thoroughly.
What inspections can be done on a weld?
There are five kinds of inspection that you can perform on a weld; Visual inspection, Penetrating liquid inspection, Magnetic particle inspection, Radiographic inspection, and Ultrasound inspection.

